
Quick SysML Diagram Tutorial With Astah
- UseCase Diagram


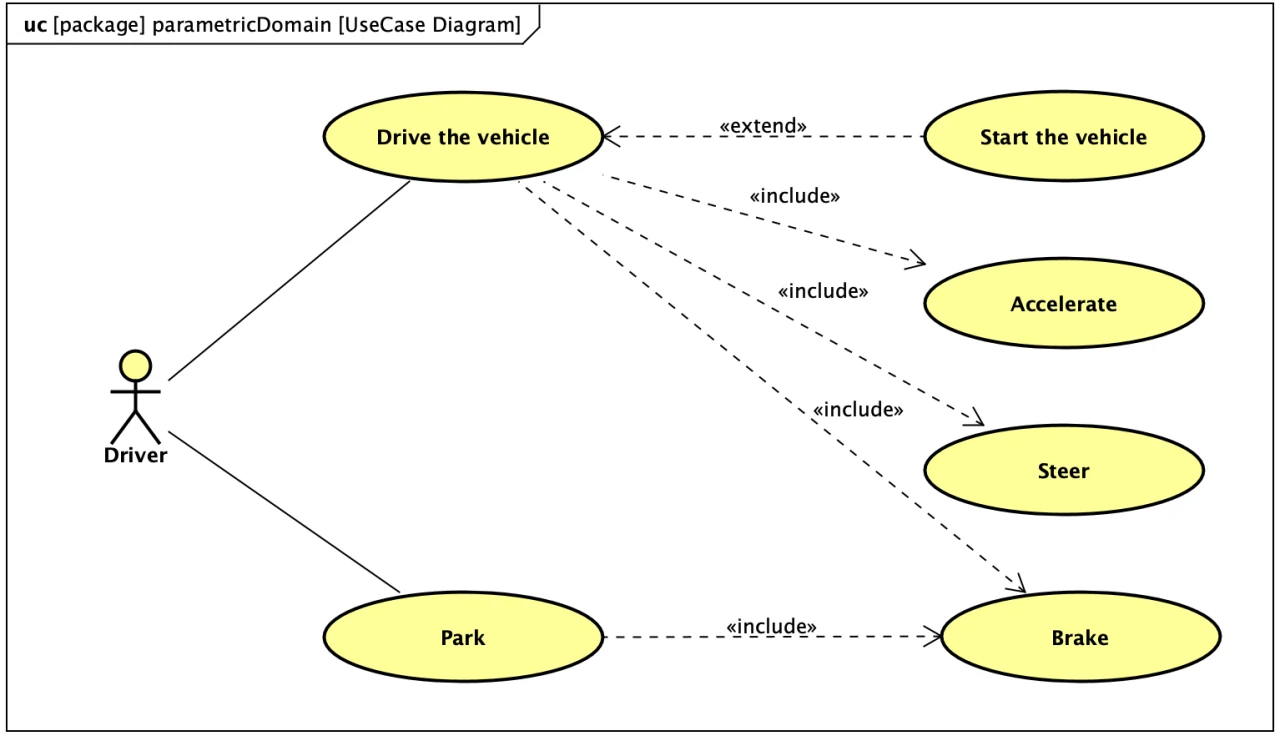
Now let’s create the following use case diagram. It is the same as “Figure D.6 – Establishing Operational Use Cases for “Drive the Vehicle” (Use Case Diagram)” in the SysML 1.5 specification.

Add a UseCase Diagram
If you are starting the tutorial from this page, download Astah SysML and the project file that includes the block definition, internal block and parametric diagrams created so far.
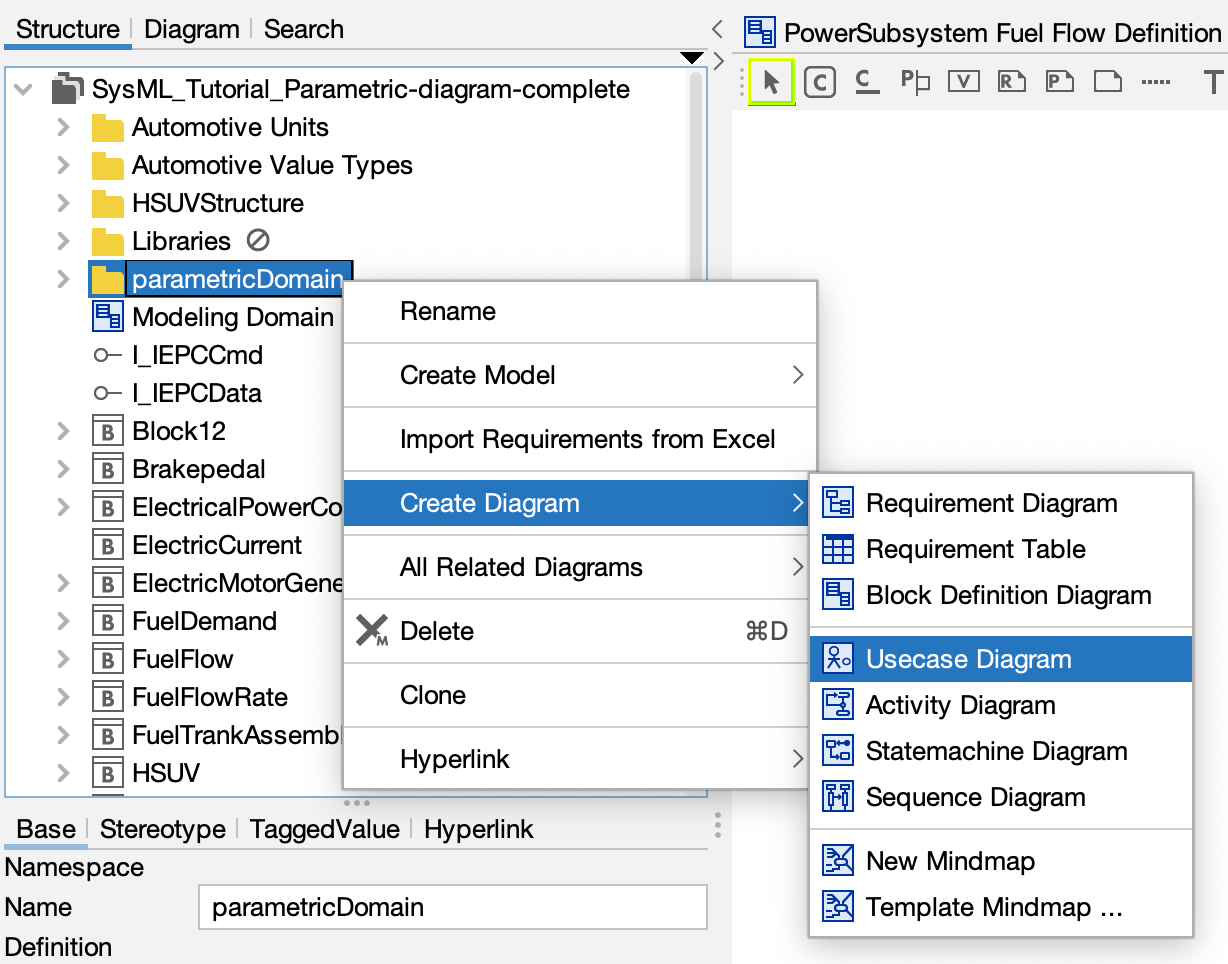
- Open the file, right-click the “ParametricDomain” package and select [Create Diagram] – [UseCase Diagram]. A blank use case diagram opens in the Diagram Editor.
Create UseCases and Actors
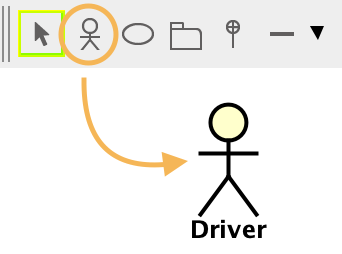
Click the [Actor] button, then click on the diagram to place an actor. Type the name “Driver” and press Enter.
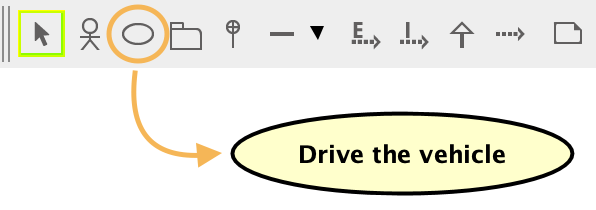
Next, select the [UseCase] button and create six use cases. Name them “Drive the vehicle”, “Start the vehicle”, “Accelerate”, “Steer”, “Park” and “Brake”.
TIPS(1)
You can create use cases by double-clicking on the diagram, without selecting [UseCase] on the tool palette.
TIPS(2)
You can also create use cases by copying and pasting their names.
Align and adjust sizes of objects
At this point, you may want to adjust the use case sizes and align them for a better-looking diagram. Use the [Alignment] menu: in this demo, all the use cases are made the same size with [Alignment] – [Adjust Size], then spaced out with [Alignment] – [Align Vertically] – [Space Evenly Vertically].
Associations between Actor and UseCases
There are several types of lines you can create between actors and use cases. Let’s create associations first. There are two ways:
- Choose the line type on the tool palette, then click the actor and then the use case.
- Or hover the mouse over an element, choose the line type from the icons that appear, then click the target element.
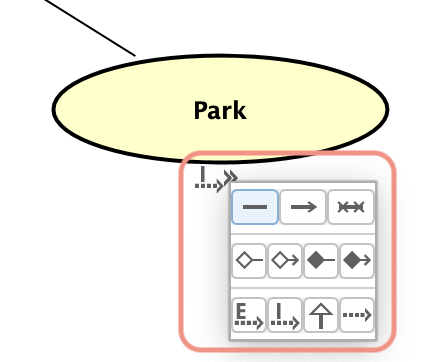
After creating the associations, create the “include” and “extend” relationships in the same way.
You can download the file that contains this use case diagram.