Multi-language / Alias
In Astah Professional, you can set an alias for models. For example, you can name the model in English and Japanese and switch it accordingly. This is very useful, especially for offshore development.
How to set alias
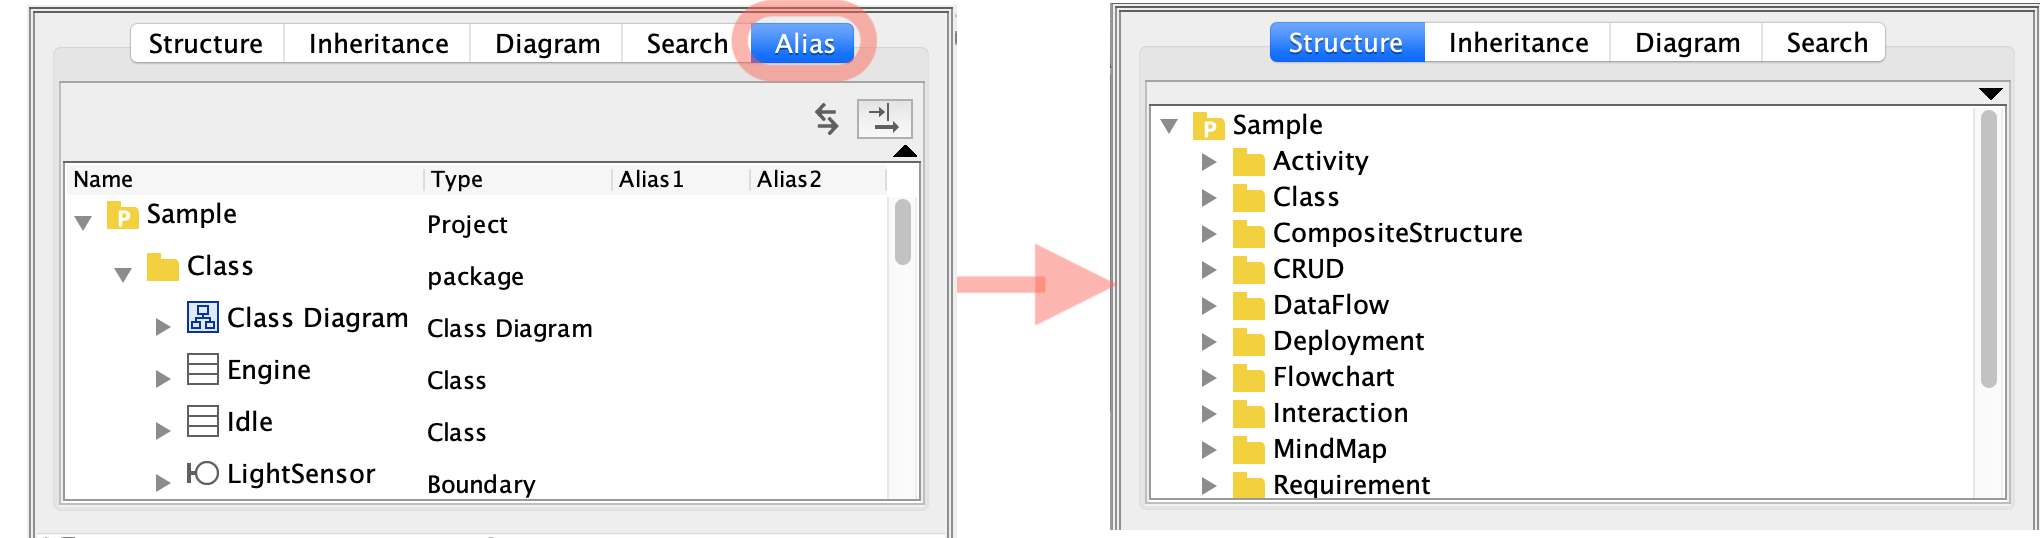
- Go to [Tools] – [System Properties] – [Project View] and tick the box of [Show Alias view] option. Click [Apply] – [OK] and restart Astah.

- Now you must have [Alias] tab in the top-left pane of Astah.
- Directly type alias in the Alias field.
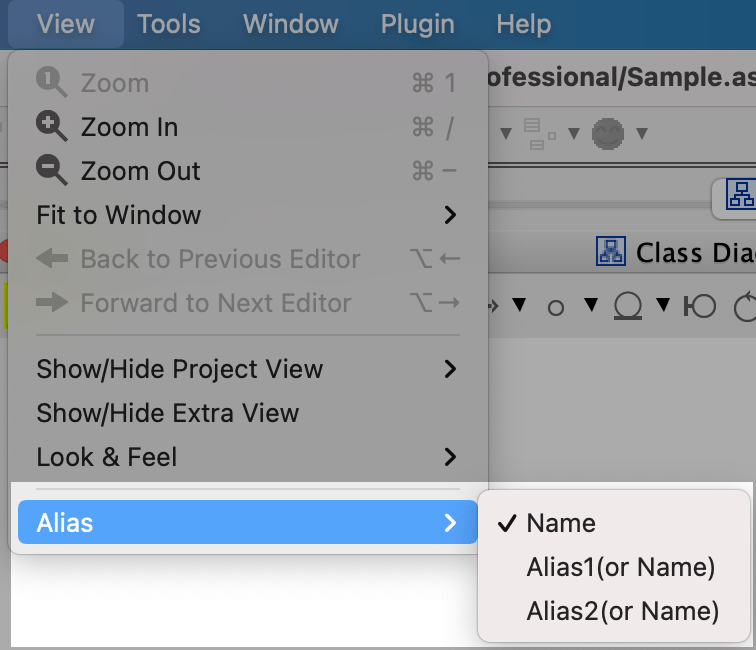
- To switch from the original name to alias, go to [View] – [Alias] – [Alias1].

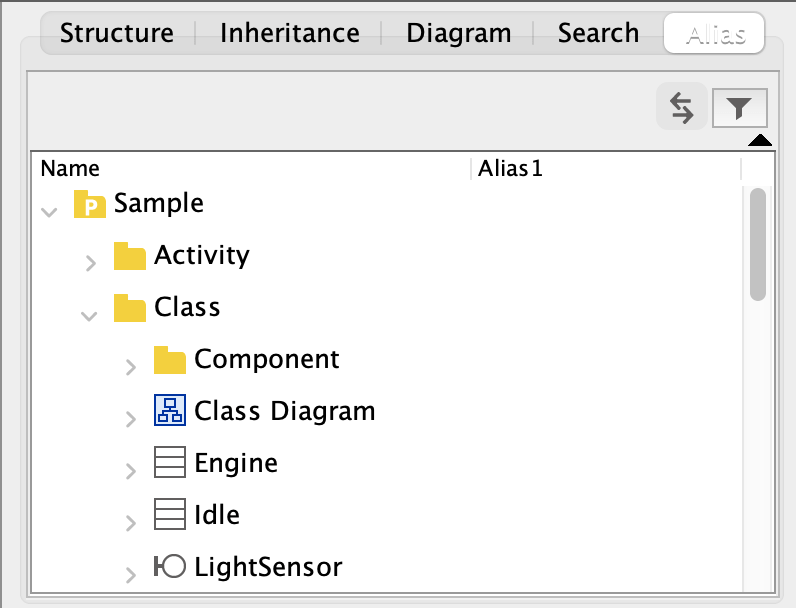
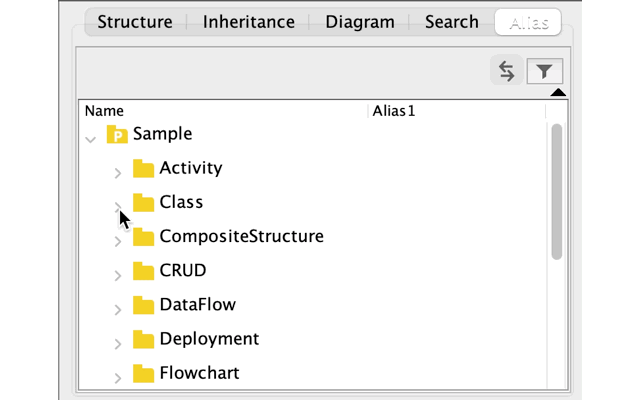
Filtering Alias columns
Each model can have up to two aliases. In order to add a second alias, you need to add another alias field first.
- Click a filtering button on the right-top corner of Alias pane.

- Enable [Alias2] and click [OK].

- Now you can add second alias.

Models you can add an alias
Currently, you can add the alias to the following models:
Model, Package, SubSystem, Class, Attribute, Operation, Parameter, Template Parameter, Association, Association End, Qualifier, Generalization, Usage, Realization, Dependency, InstanceSpecification, Link, Link End, UseCase, Extend, Include, Extension Point, Entity, Domain, Primary Key, Other Key, External Entity, Data Store, Requirement, TestCase, Note, Text and diagram names.
Hide Alias View
If you do not need to use alias, you can hide [Alias] view which may increase performance.
- Go to [Tools] – [System Properties] and choose [Project View] from the left menu.
- Unselect [Show Alias View] and click [Apply] – [OK].
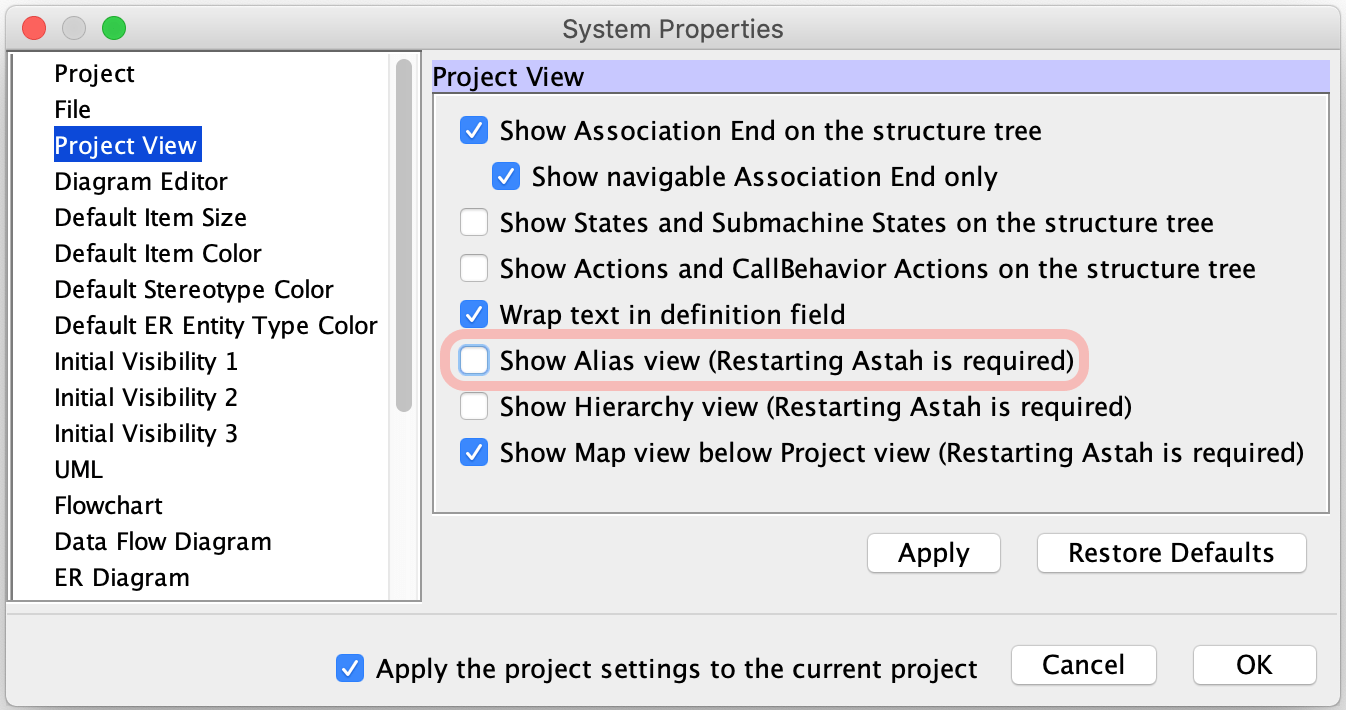
- Restart Astah.
- [Alias] tab will be gone.