
Layout and align objects


Creating clean, well-structured diagrams improves readability and ensures your presentations look professional.
Astah provides a variety of automated layout and alignment tools to help you organize your model elements efficiently.

How to Align Objects Horizontally or Vertically
You can quickly align multiple diagram elements along a shared horizontal or vertical axis.
Align Horizontally
- Select multiple objects you want to align.
- Navigate to Alignment > Horizontal in the top menu, and select your preferred alignment method.
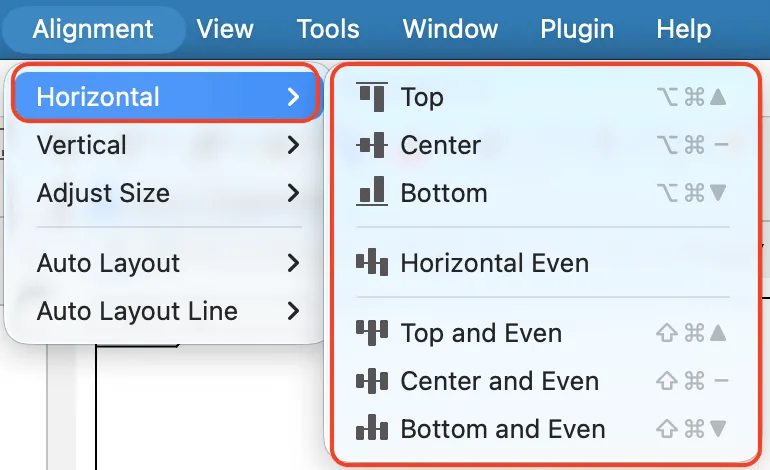
Alternative: Click the Horizontal Alignment icon directly from the toolbar.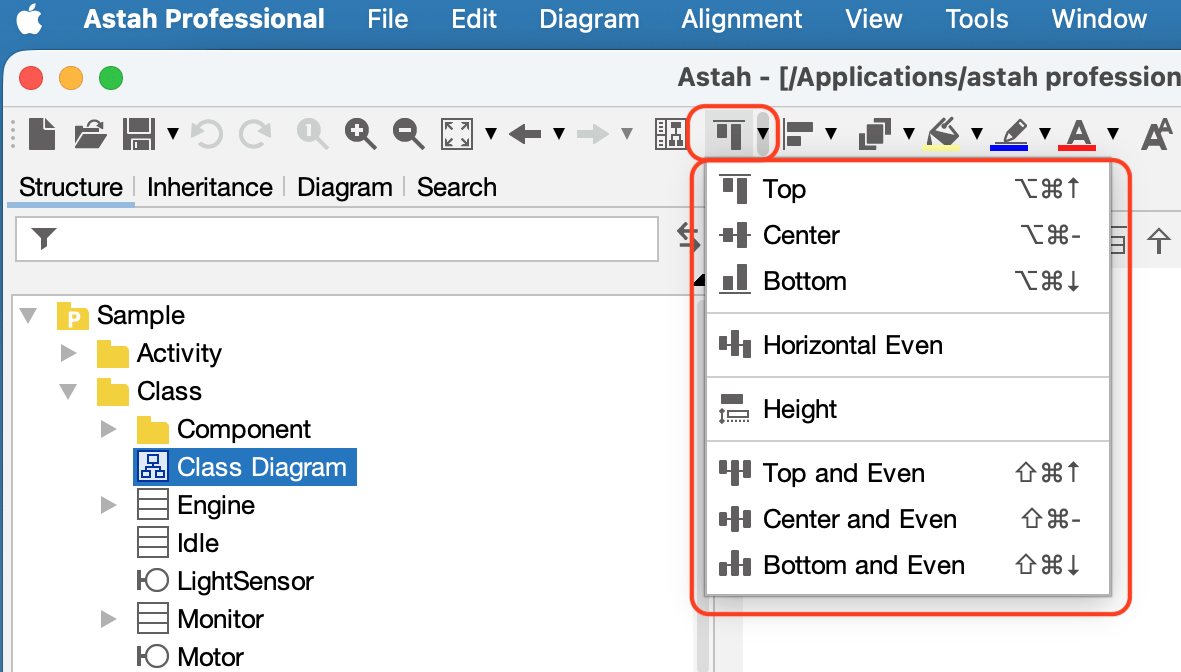
Align Vertically
- Select multiple objects you want to align.
- Navigate to Alignment > Vertical in the top menu, and select your preferred alignment method.
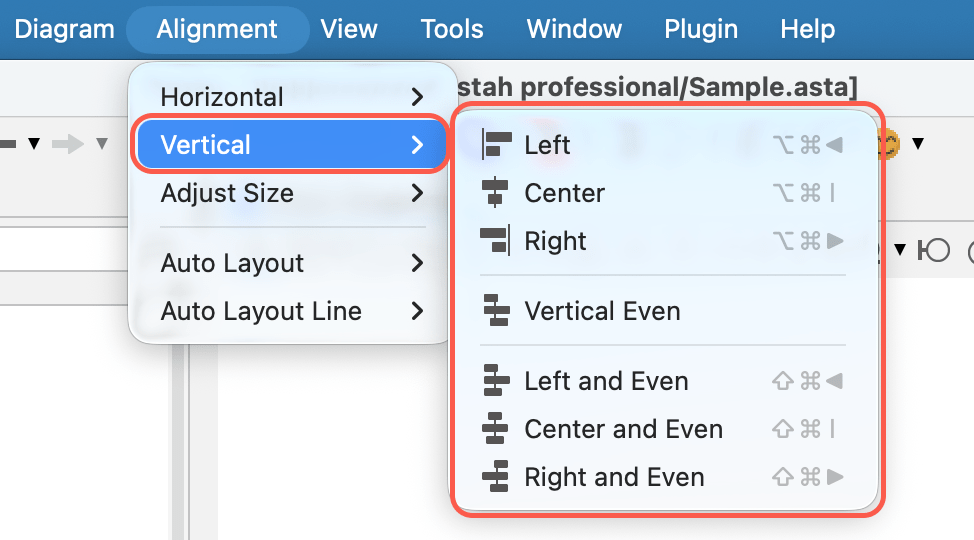
Alternative: Click the Vertical Alignment icon directly from the toolbar.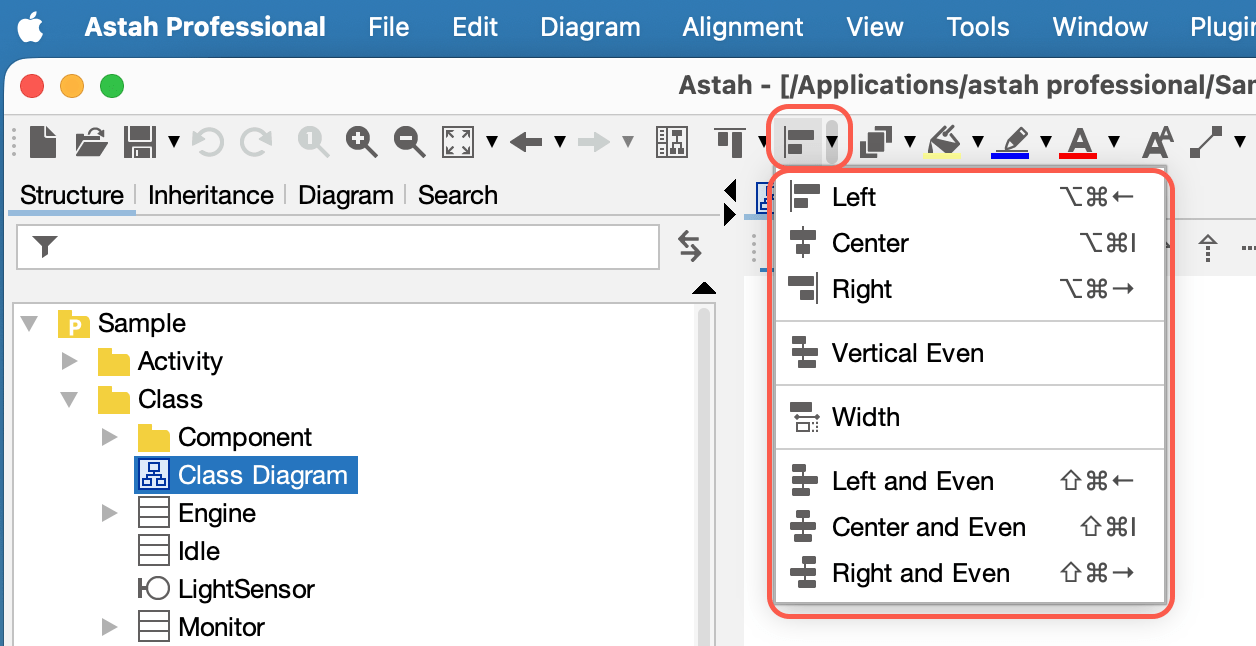
How to Align Ports, Pins, and Nodes Evenly
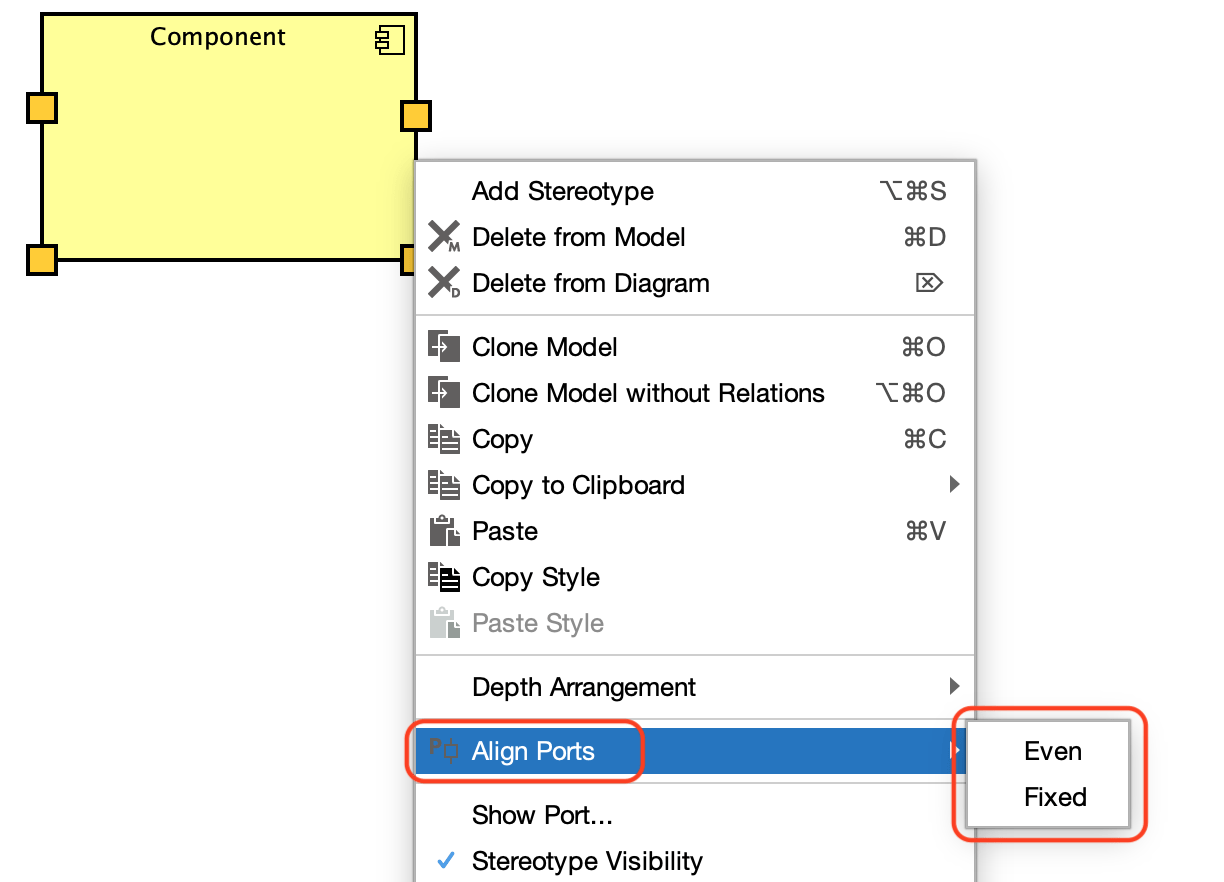
You can organize specific boundary elements—such as Ports, Pins, Entry/Exit Points, and Activity Parameter Nodes – to have perfectly even or fixed-width spacing.
- Right-click the parent object that contains the Ports, Pins, or Entry/Exit Points. (Note: To align Activity Parameter Nodes, right-click directly on an empty space in the diagram instead).
- Select either Align Ports or Align Activity Parameter Node from the context menu.
- Choose your spacing layout:
- Even: Evenly distributes all elements across the available space.
- Fixed: Positions all elements using a uniform, fixed-width distance.
How to Align Input and Output Pins
Astah allows you to automatically separate and align Input and Output Pins to opposite sides of an element.
- Right-click the object containing the Input and Output Pins.
- Navigate to Align Pins from the context menu.
- Choose one of the following orientation options:
- Input to Left / Output to Right: Moves all Input Pins to the left border and Output Pins to the right border with even spacing.
- Input to Top / Output to Bottom: Moves all Input Pins to the top border and Output Pins to the bottom border with even spacing.
How to Standardize Object Sizes
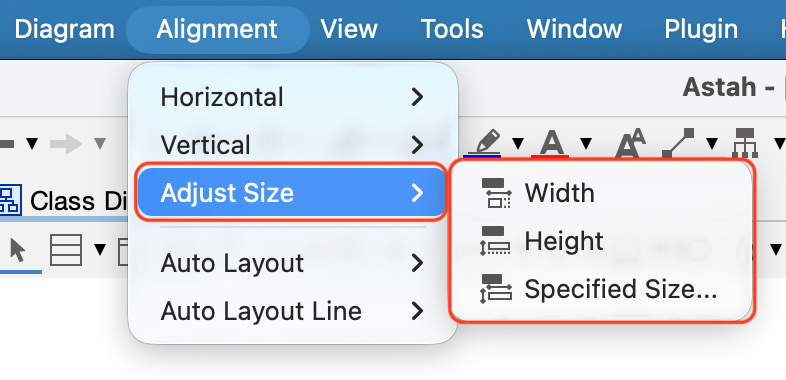
You can instantly match the dimensions of multiple elements or set them to a custom size
- Select multiple objects you want to resize.
- Go to Alignment > Adjust Size in the top menu.
- Choose one of the following resizing methods:
- Width: Automatically matches the width of all selected objects to the widest element.
- Height: Automatically matches the height of all selected objects to the tallest element.
- Specified Size: Allows you to manually type in a uniform width and height, or scale all items to match a single designated target object. – [Adjust Size].
How to Use Auto Layout
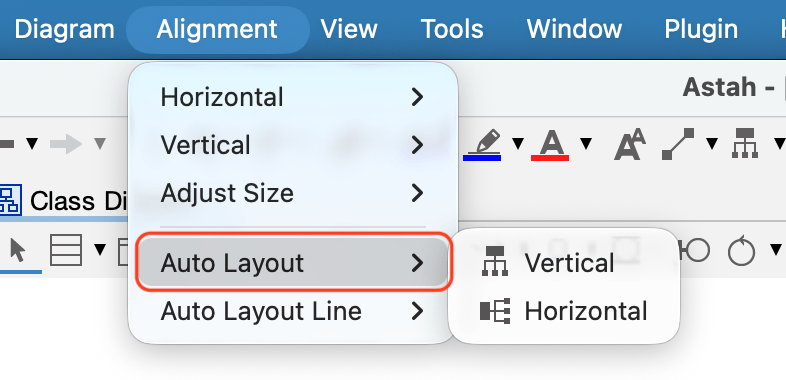
The Auto Layout feature automatically organizes and repositions your model elements into a clean hierarchical structure.
- Open the diagram you want to organize.
- Navigate to Alignment > Auto Layout in the top menu.
- Select either Vertical or Horizontal alignment depending on your preferred diagram flow.
How to Use Auto Layout Line
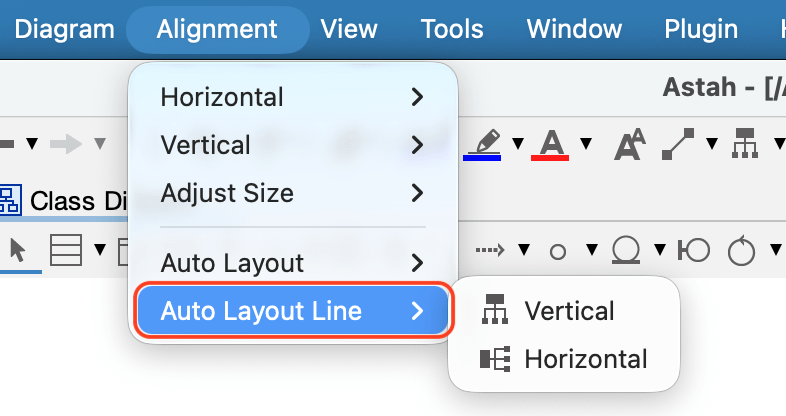
The Auto Layout Line automatically organizes and repositions only the connecting lines between objects keeping the location of objects.
- Open the diagram you want to organize.
- Navigate to Alignment > Auto Layout Line in the top menu.
- Select either Vertical or Horizontal alignment depending on your preferred diagram flow.
Important Layout Limitations:
- The Automatic Layout features are not supported for Mind Maps.